Find the right touring skins at INTERSPORT Rent
*Advertisement
Whether you’re climbing the mountain with ease largely depends on your ski touring skins. No matter how expensive your ski touring setup is or how light the binding are – if the skins don’t do what they’re supposed to, you’re going to have a hard time making it to the top of the mountain. That’s why you should choose your touring skins as carefully as your friends, because: If you get the right ones, they will stick around for a long time to come!
Find out how skins are constructed, what materials they are made of, and how to use and care for them!
How ski touring skins work
Skins for touring skis are made of aligned fibres. The weave and the finish influence the relationship between grip and glide. The finish makes the fibres water-resistant and prevents the formation of snow clumps. Aligning, smoothing and fixing the fibres in place makes the plush more durable, slippery, yet grippier. The latter prevents you from sliding back downhill.
Between the plush and the glue side, a waterproof coating ensures maximum adhesive performance and increased tear resistance. The glue makes the ski base and skin stick together. Cold and wet conditions can negatively affect adhesion.
Materials used for climbing skins
The material is one of the key differences between various types of skins. The primary materials used are mohair and nylon.
- Mohair: This high-quality material is the hair of the Angora goat. Especially in fresh snow, ski touring skins made of mohair boast optimal gliding performance and excellent braking properties.
- Synthetic/nylon: Compared to mohair, synthetic skins are more robust, more durable and less expensive. However, synthetic skins cannot compete with mohair when it comes to their gliding properties.
- The best of both worlds: Why choose between the two when both materials can be combined to create skins that are the perfect blend of performance and durability? More and more manufacturers offer skins made of both nylon and mohair.
How to use ski touring skins correctly
When choosing skins, the following factors are important:
- length
- attachment options
- width
These three aspects are influenced by the touring skis you choose. Possible attachment options are clips, hooks or wires. As far as the width is concerned, the skins must cover the base of the ski but not the steel edges. The skins supplied by a manufacturer usually already perfectly match their skis. This ensures a perfect fit. Alternatively, you can cut them to size.
Putting on ski skins made easy
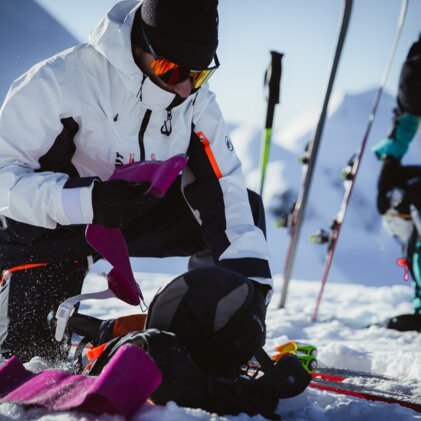
Depending on which side (tip or tail of the ski) the skins are tensioned at, you’ll start attaching them on the opposite side. If the tensioning system is at the tip, then the skin needs to be attached from the tail end of the ski. Before you start, make sure the skin side and the glue side are free of any stones, resin or dirt. The base of the ski must be clean and dry as well.
Tip: If the skin has to be reattached during a ski tour, simply wipe it off with a cloth or your jacket sleeve!
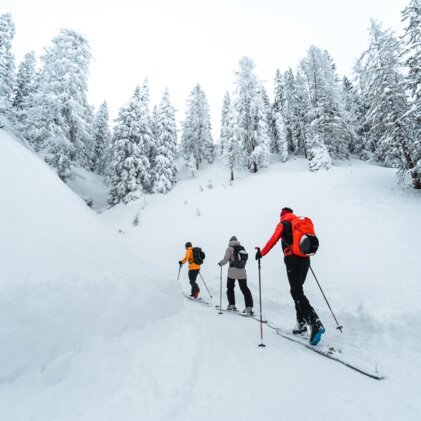
After putting on the skins, you can head uphill. Despite the above-mentioned finish, your skins might start to ball up with snow in certain weather conditions. This is often the case after walking through puddles or when the snow is very wet. To prevent this, we recommend waterproofing your skins with wax.
Take them off and ski down
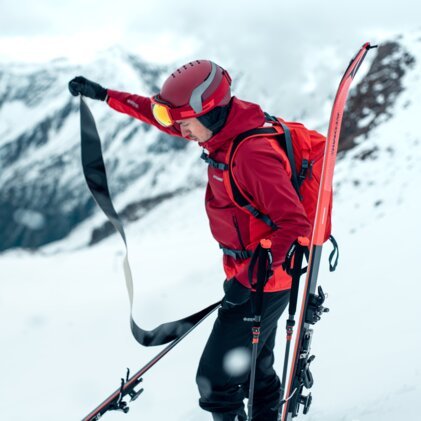
After you reach the summit, it's time to take off the skins before your well-deserved descent. Depending on the manufacturer, you can either stick them together by folding them in half after use or attach a special foil. Especially when the adhesive layer of the skins is thicker, the special foil should be used. This prevents the skins from sticking together so strongly that you can’t pull them apart anymore.
After the tour is before the next tour
Once you have found the ideal touring skins for your skis, there are a few things you can do to ensure that they last you as long as possible. The following care tips will help you keep your faithful companions in good shape:
- Skins should never be dried vertically attached to the ski, in high temperatures or direct sunlight.
- At home, first, let them dry at room temperature, then fold them together. Caution: Do not place your climbing skins on a heater or radiator, as the heat can damage the adhesive layer.
- Small stones, pine needles or grass can be removed carefully with tweezers or a sharp knife.
- If the plush side is dirty, it can be cleaned with a damp cloth. Caution: Do not use harsh cleaning agents!
- Fraying edges can be fixed by cutting off loose threads with nail scissors. Important: Make sure that the adhesive layer does not get damaged in the process!
- During their summer break, skins are best stored in a skin bag in a dry and dark place.
Get your climbing skins at INTERSPORT Rent!
If it turns out that your skins are damaged, it may be necessary to renew the adhesive layer or replace it entirely. If you want to take the opportunity to test different models, then INTERSPORT Rent is the right place for you! That’s where you’ll get even more great tips from the experts for ski touring equipment: our RENTertainers.
What’s more: At our INTERSPORT Rent shops, you will not only find ski touring skins, but also skis, bindings, poles, boots, helmets, clothing, and avalanche equipment. We recommend you reserve the gear you would like to rent in advance and then pick it up on the day of your arrival at the resort!


